
Start Your Own Ginger Bug at Home
A beginner-friendly walkthrough to culture your own wild ginger starter, the same idea behind our brew.
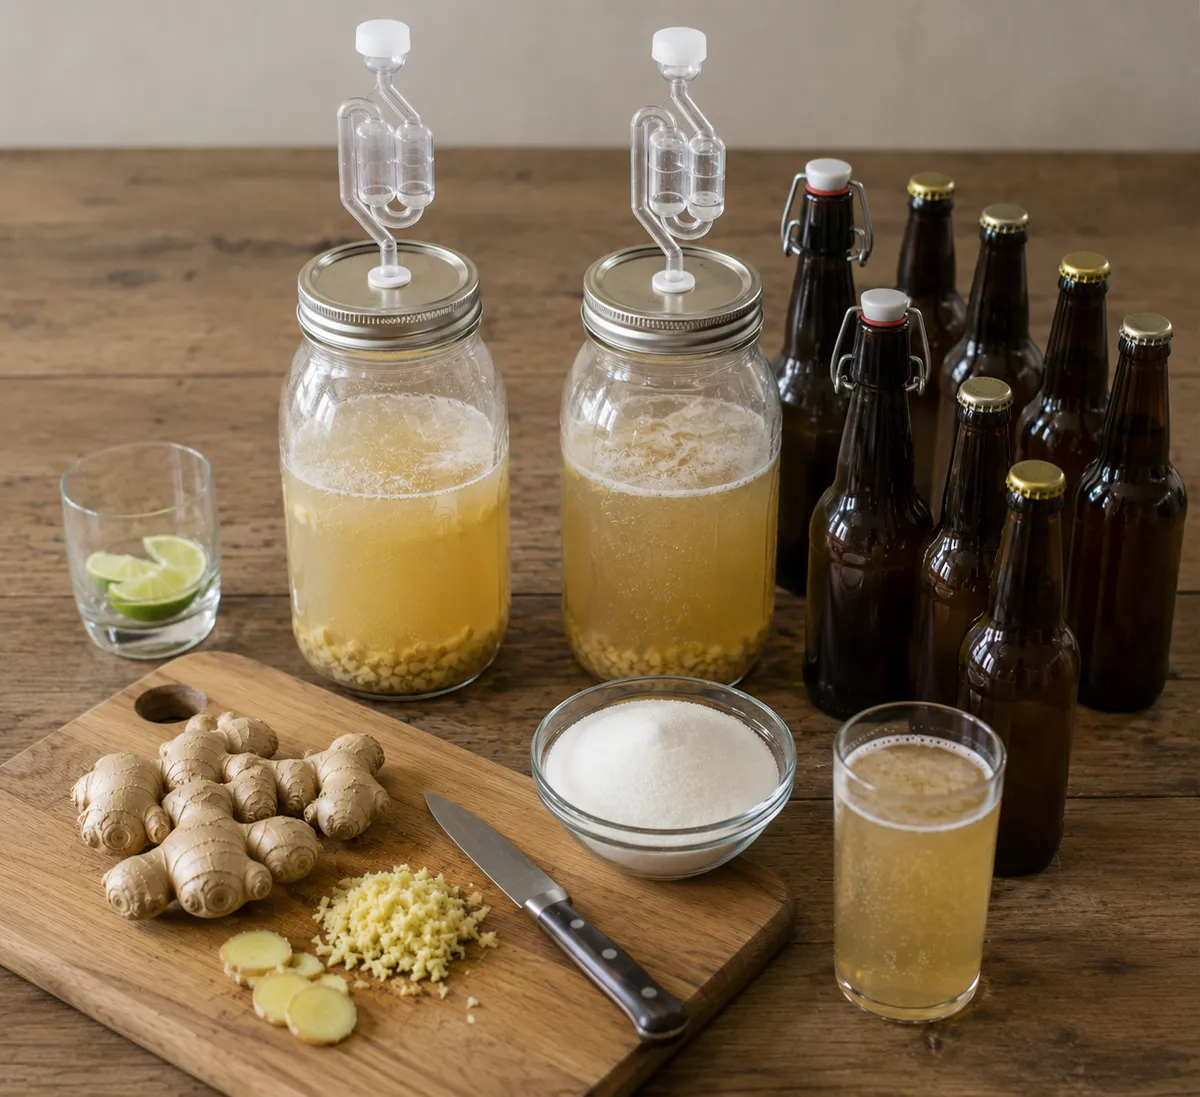
Curious how the magic actually works? You can culture a simple ginger bug on your own kitchen counter with nothing more than ginger, sugar, water and a week of attention. It will not be GingerBros, that takes our specific cultures, our water and years of practice, but it is genuinely one of the most satisfying things you can grow at home, and it will teach you to respect the living process behind every fermented drink. Consider this your friendly, beginner-proof starting point.
A quick word on what you are doing
A ginger bug is a wild starter culture: a community of yeasts and bacteria that naturally live on ginger skin. You are not adding anything magic, you are simply giving those microbes the conditions to wake up, multiply and start fermenting. Everything below is in service of that one goal.
What you need
- A clean glass jar (a 1-litre mason jar is perfect)
- Fresh, organic ginger, the wild yeast and bacteria live on the skin, so do not peel it, and avoid conventional ginger that may have been irradiated or treated
- White sugar (the microbes prefer simple sugar to start)
- Filtered, non-chlorinated water, chlorine and chloramine are literally designed to kill microbes, so tap water can sabotage your bug; leave tap water out overnight or filter it
- A breathable cover: a cloth or coffee filter held with a rubber band, so gases escape but dust and insects cannot get in
The daily ritual (this is the whole secret)
A ginger bug is not a recipe you finish, it is a culture you feed. Consistency over the first week is everything:
- Day 1, Add 1 tbsp grated ginger, 1 tbsp sugar and 1 cup of water to the jar. Stir well and cover loosely.
- Days 2 to 5, Each day, "feed" it another tablespoon each of grated ginger and sugar, and stir vigorously. Both steps matter: the sugar is fresh food for the microbes, and the stirring folds in oxygen that helps the yeast multiply while keeping mould from forming on the surface.
- Around day 5, You should see bubbles rising when you stir and smell a bright, yeasty, gingery aroma. That fizz is the sign your wild yeast has woken up and the bug is alive and ready to use.
Keep the jar somewhere warm-ish (20–26°C / 68–79°F is ideal) and out of direct sunlight throughout.
Troubleshooting
- No bubbles after 5–6 days? Your water may be chlorinated or your kitchen too cold. Switch to filtered water and find a warmer spot.
- A thin film or yeasty smell? Usually normal, stir it back in and keep feeding.
- Fuzzy, coloured, or slimy growth? That is mould or contamination. Do not try to save it; start fresh (see safety, below).
Keeping it alive long-term
Once active, treat your bug like a pet. To use it constantly, keep it at room temperature and feed it every day. To slow it down between projects, move it to the fridge and feed it about once a week, the cold nearly stops its metabolism, exactly the way we rest our mother culture between batches. To make a simple soda, strain off some of the liquid, mix it with sweetened juice or tea, bottle it, and let it carbonate for a day or two before refrigerating.
Safety first
If your bug ever smells rotten or putrid, grows fuzzy or coloured mould, or turns slimy and stringy, throw it out and start again, no exceptions. A healthy bug smells sharp, sweet and gingery, never foul. When in doubt, trust your nose.
And respect the pressure when you bottle: use bottles built for carbonation, "burp" them daily to release gas, and never leave a sealed bottle at room temperature for long. This is the oldest soda technology on earth, and a little caution keeps it fun instead of messy.
Taste the difference
Real ginger, natural fermentation, live cultures. Get a bottle of GingerBros and try it for yourself.
More from Brewing
 Brewing
The Art of the Ginger Bug: How We Brew Living Fizz
Step inside our Bangkok brewhouse for a look at the wild ferment that powers every bottle, from raw rhizome to bubbling, living soda.
Read article Brewing
From Bottle to Soil: Our Sustainability Promise
Recyclable glass, ginger pulp that becomes compost, and the climate cost we are still working on.
Read article